If you know anything about PicsArt, you know how powerful of an app it is, from simple color/contrast/curves edits to actual photo manipulation (think: double exposures, blended photos, etc.). And if you DON'T know about PicsArt, I'm happy to tell you a little bit about it!
I've edited my photos with PicsArt before, so I gladly obliged when they approached me about working together to show how I use their app!
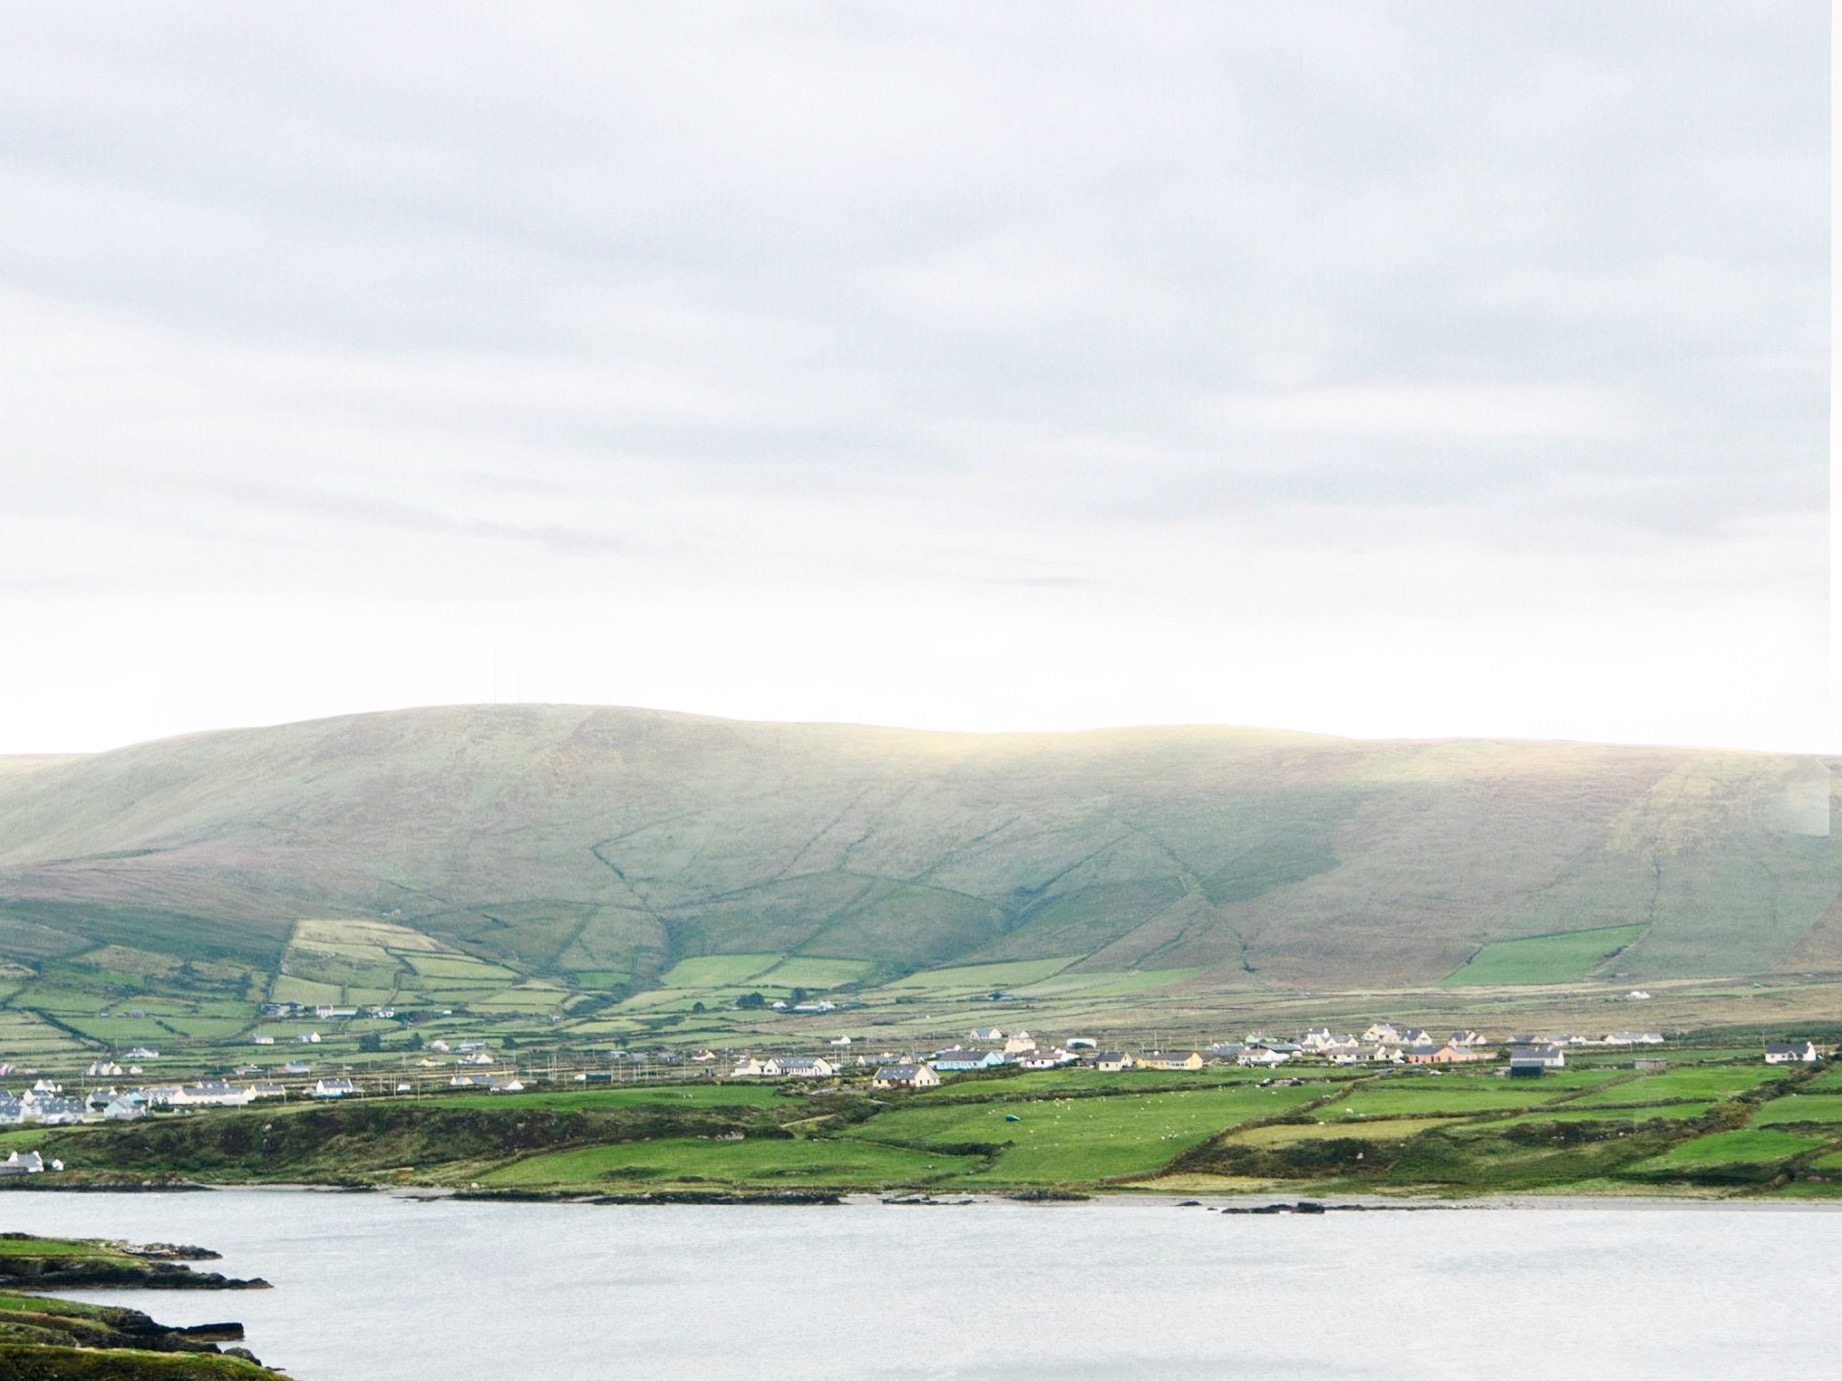
My most recent Instagram post was a photo from my Ireland trip last August. Here is the original:

A little bland. I never wanted to post it on my feed because of that. But a lot of times, I'll look through old photos to see if I can make it pretty enough to be "Instagrammable." :P
The rocks are a little distracting, so I cropped them out with the original 4:3 ratio.

Next, I adjusted the photos with the following:
Brightness +12
Contrast +7
Shadows -6
Highlights + 13
That's about my usual formula for my photos... looking more like how I want it to now! I love that the PicsArt sliders are easier to control than most apps. Not too sensitive, and not too clunky.

Now what I really hate is the clouds... but that's what PicsArt is for, right? My favorite part of PicsArt: blending photos together! To do this, I chose the "Add Photo" option and imported another photo that had a sky in it. The photo is a little gloomy, so I chose another overcast sky. I used one of my photos from Hong Kong.

To blend the photos together, I adjusted the opacity so I could see what I was erasing.

Erase Hong Kong, adjust the photo a bit more, and there we have it! A prettier sky!
Overall, it was super easy to learn how the app worked, and there are SO many functions I didn't even touch. The curves filter can be a lifesaver (although I found it way less easy to slide than the other adjustments). It's like having a desktop version of Photoshop on my phone.
Thanks for making my life a little prettier, PicsArt!
Download PicsArt photo editor here!